Nov 13, 2016

Ohh, yes I did- I went There....

Hello all,
It is again starting to become my indoor time of the year- it was darn chilly out there today! BRRRR When the air starts to get chilly like this- I head for my kitchen.  There is no outdoor activity that could convince this girl out into the cold, snow, and ice!
Sometime during this busy last week at work, across my Facebook feed came an idea so outrageous that I immediately laughed it off and headed to the next item. But, as often happens, my mind kept popping back to that feed and I knew that I was going to have to make it in order to stop obsessing over it.
What idea do you ask?
   Well- DEEP FRIED BURGERS- that's what.
And yes, I imagine your first thoughts about that were the same as mine- uggh. In general I am not much of a fried fan. Too many places do it all wrong- and the outcome looks (and tastes) like a greasy lump of congealed.. well, stuff.  But if you can get the techniques right- fried foods can be light and airy, with a taste that only superheated oil can give.
So here I went-
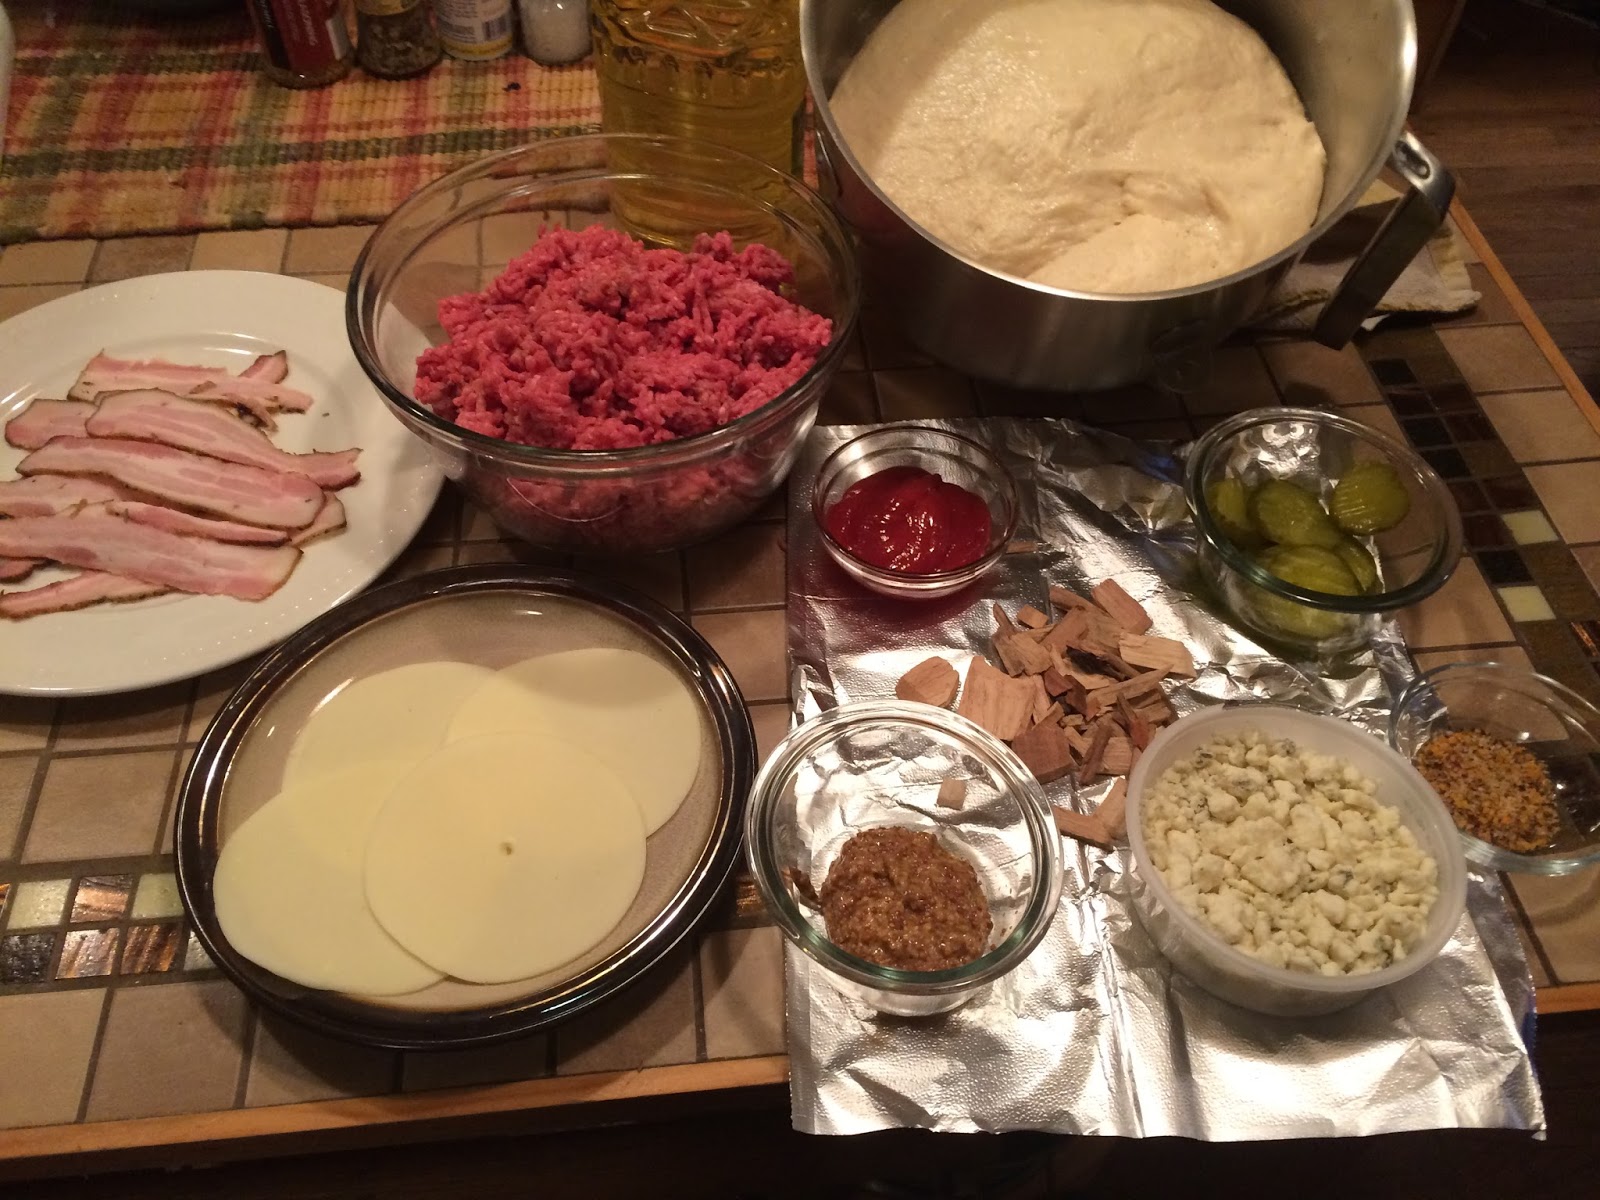
I pulled a conglomeration of ingredients out of the fridge- choosing mainly based on what I like to have on my burgers.
Blue cheese, Provolone, sliced dill pickles, stone ground mustard- and my own signature bacon. Some of you are well aware of my new smoking addiction- so I wanted the burger to be hickory smoked, and not just chuck, but ground round. I had done a little research on what I wanted to make- and a recipe that peaked my interest looked good with the exception of a sweet donut like bun- umm, no.... no sweet stuff around my beautiful smoked burger- no way!
Looking through my own bun recipes, I decided on one that made a light pizza type crust. Into the bowl the ingredients went- and then directly into the hour long rise.
After adding seasoning to the ground round, I made smoke packets and started the grill heating to a sizzling temperature. I started the fresh oil warming in the fryer and set the temp at its highest- 374 degrees.
After rolling the dough out into balls, I put the burgers on the grill with the smoke packet, and came back inside to spread the dough out very thinly.
I layered all of those ingredients onto the dough circles- stopping to turn the burgers just once. Pickles, then the provolone cheese and signature bacon.

Next came the crumbled bleu cheese and stone ground mustard.


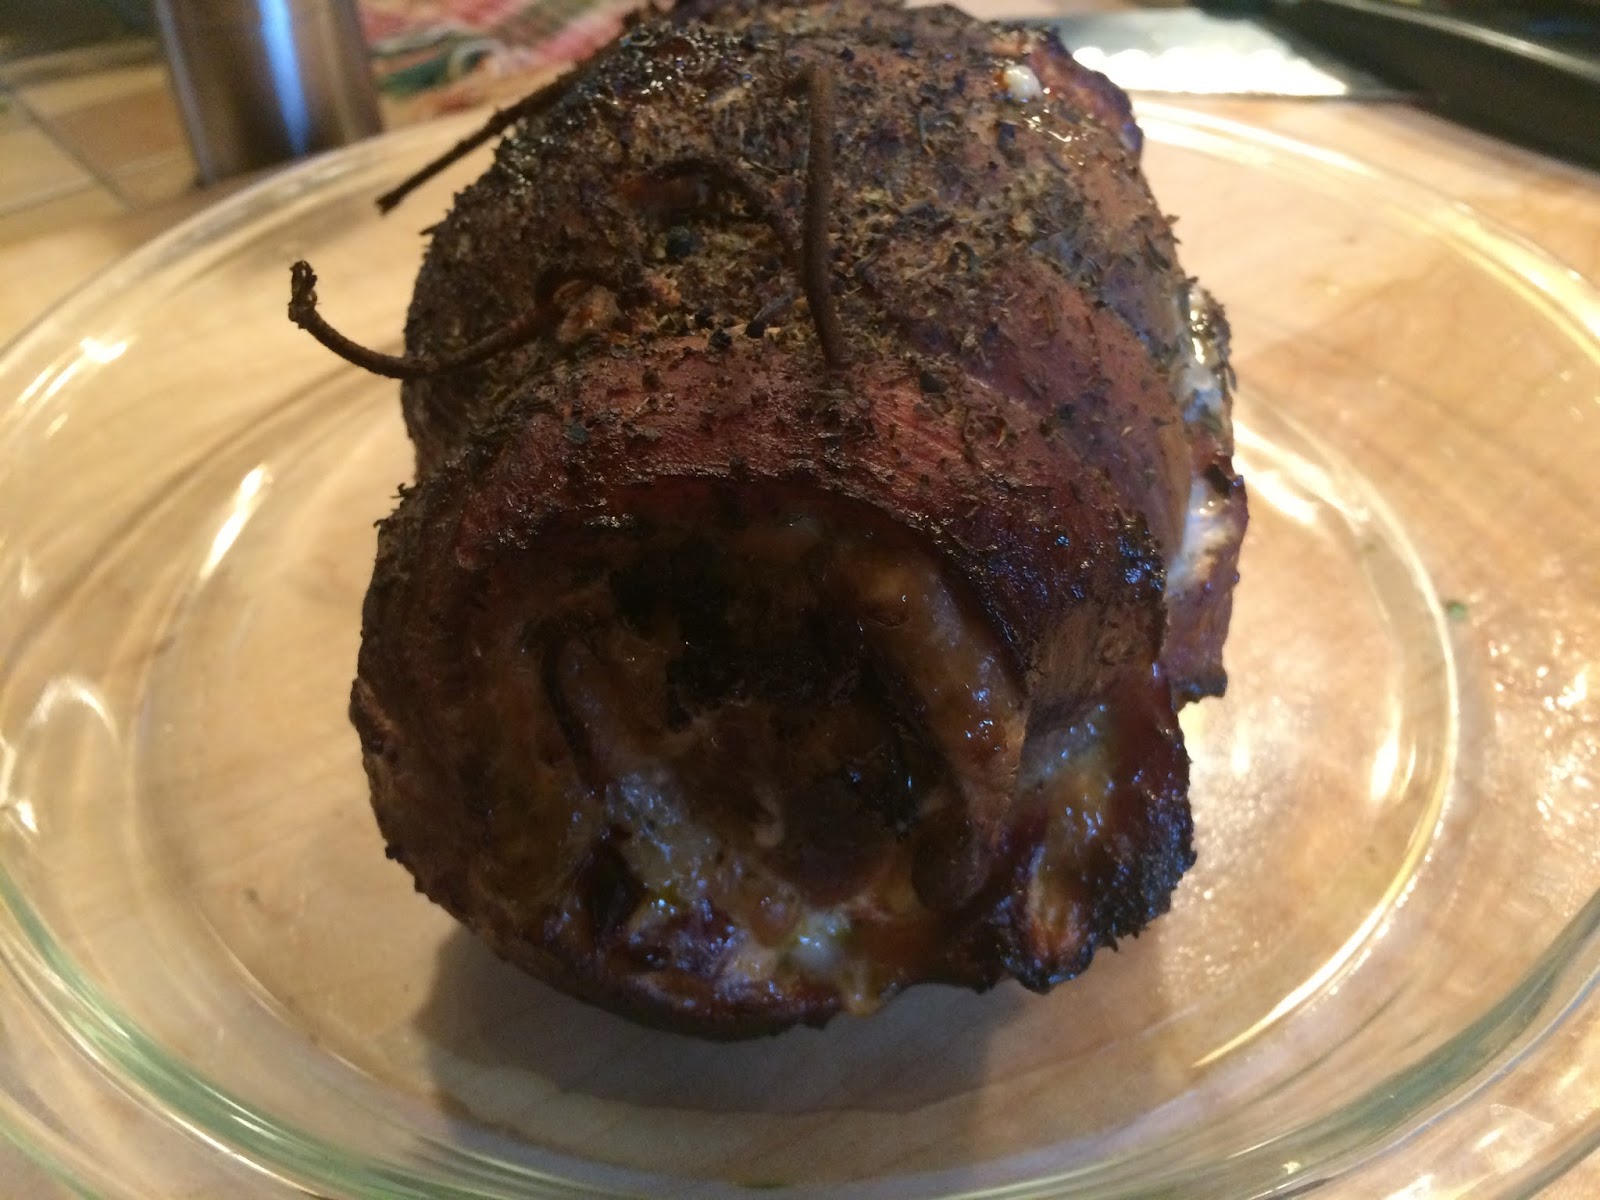
The burgers came off the grill with good sear and great smoke smell- onto the toppings they went. I wrapped the dough around each burger and make a big ball of what was planned to become ooey gooey goodness.
Now to give the at-temp deep fryer it's turn.
A few minutes on each side and out they came- the crust was crispy and golden brown- and the inside.. well ....
OKAY!
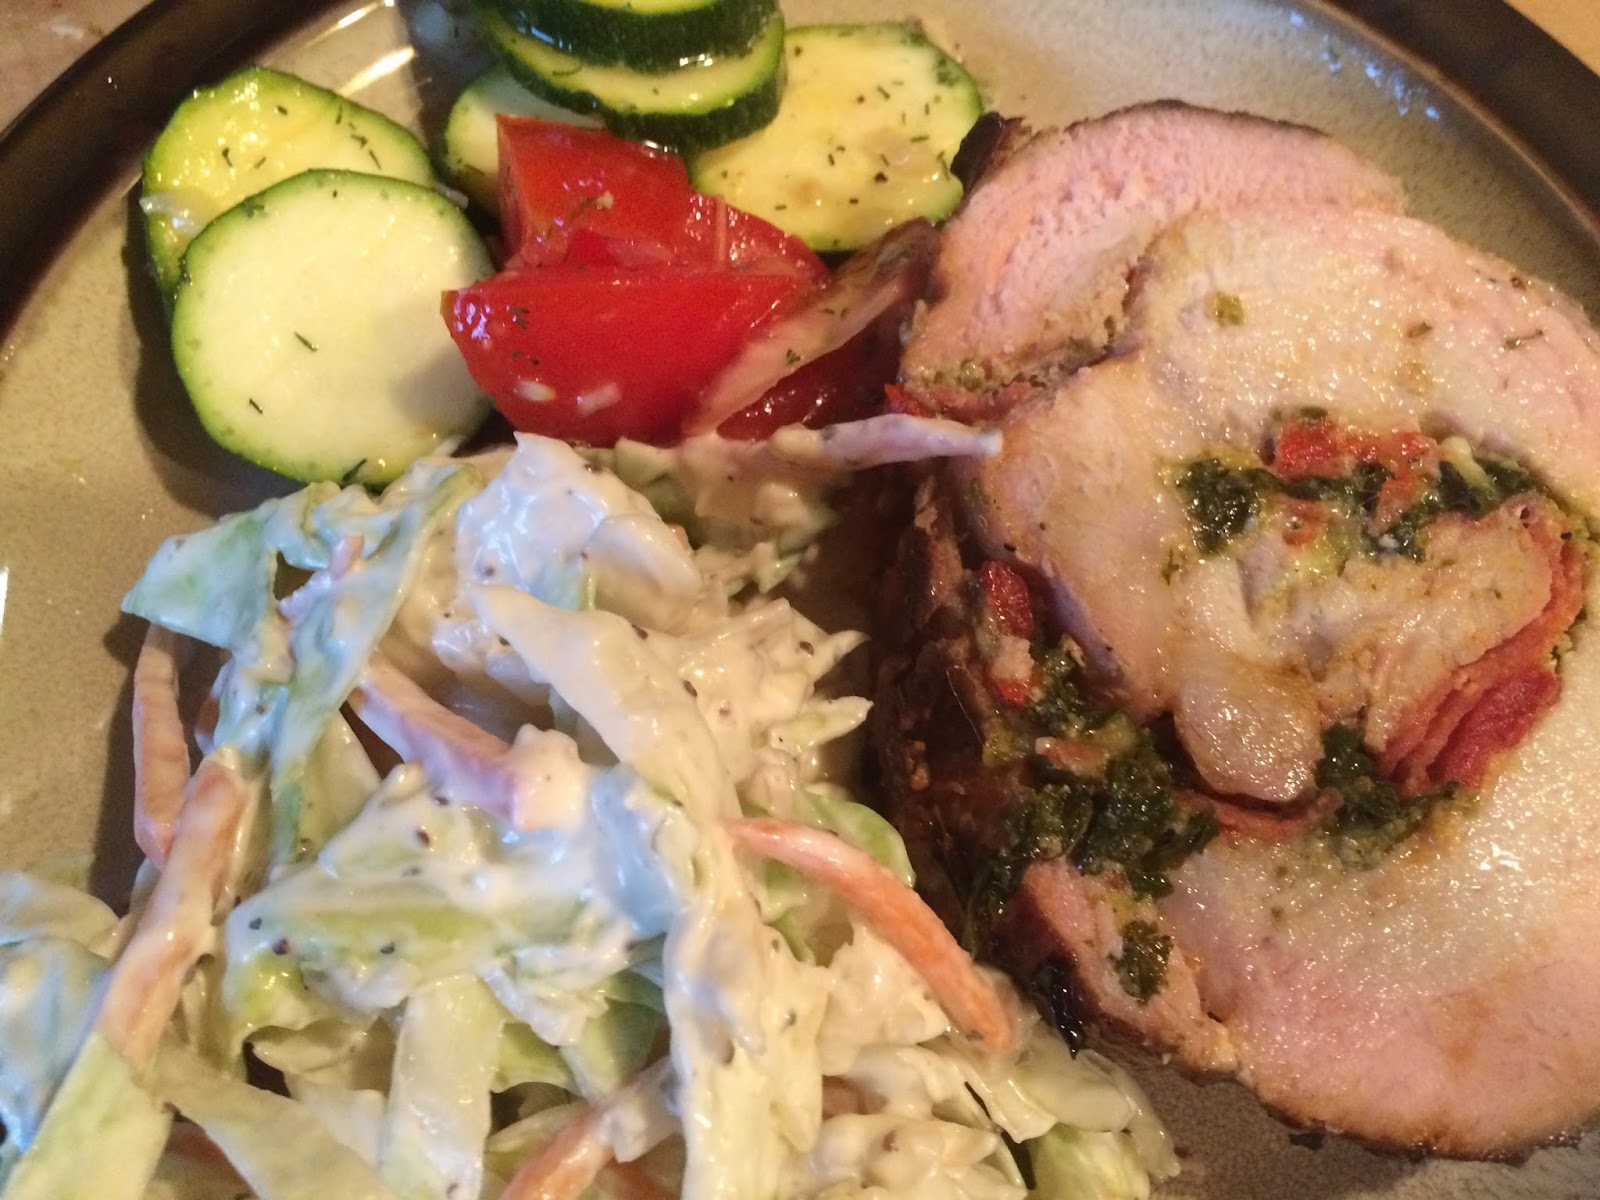
We added some A1 sauce, and a little mayo, and inhaled these.
Pleasantly surprising was that the crust was light and fluffy, all golden brown and holding all of the toppings in place. No sliding of the toppings off the burger- each bite was crammed full!  It was amazingly good- and the three taste testers I rounded up all gave them a two thumbs up.
Now, I am never happy the first (or sometimes, tenth) time, and I know that I can bump it up just a bit more- so next time...
I will grind my own steak so that I can safely keep the burgers at a medium rare, Because this was a commercially ground product, I had to cook the burgers to well. BUT, if these were this good at well done... OMG, how amazing will they be at med rare?
I will be tweaking the dough recipe just a bit, I would like to see a little more flavor in the crust.
And in my next ones- I want to add some fresh chopped tomato when I cut them open. Plus some fresh mushrooms, and more steak sauce... oh the list goes on and on.
So go on out there and try your hand at these babies- your tasters will love you!
More to come in the future. I have been smoking up a storm and have some exciting recipes to share.. plus a new way to challenge my cooking skills!
As always,
 Live peacefully, Cook fearlessly!
Chris 


Jul 10, 2016

To Stuff or not to Stuff- the hamburger that is!

Today was the perfect break day in a very busy summer for me in upstate NY. We had intermittent torrential downpours, the occasional rumble of thunder, and I got to spend the day indoors puttering around! We needed the rain so badly that I didn't even feel a twinge of guilt at not being outside doing hard physical house and lawn labor. LOL
When it came to the hour where I had to stop puttering (which for the record, I LOVE- and am very good at, haha.) I came to a dinner dilemma. We, the hubby and I, had gotten ground chuck earlier in the day to have grilled hamburgers- but what had sounded good earlier was boring the hunger out of me now. You know the feeling, I know it happens to others, too! So- what to do at this late hour when the hubby has heard me moving around the kitchen and has that expectant, "I'm going to get to eat soon" look on his face.
While rooting through the cupboards, looking for inspiration, I found an relatively unused culinary toy- the stuffed hamburger maker-.relegated to a lower cupboard. I had bought it a couple of years ago- used it unsuccessfully, once. I pulled it out and thought, honestly.... "Blog post! Let's see what this baby is capable of". So here goes.


I took the package of ground chuck, seasoned it with salt and pepper and "fluffed" it up a bit. On the first burger, I used the maker the way that I remembered the instructions (limited as they were) had told me to do.

1. Make a thin beef patty and place it in the bottom of the maker.
2. Twist the maker handle to the indent position and press down, hard.


3. Place the stuffing ingredients into the indentation.
In the hubby's case- pepperoni and mozzarella cheese.


4. Add ground beef to the top of the patty, covering all of the stuffing, and twist the maker into the "smush" mode, and press down firmly to seal.


Okay- so I did all of that, and wasn't displeased with the result. It was a thick burger, but was sealed on all sides. When I made them the last time, all of the stuffing ingredients oozed out during the cooking, and the result was disheartening- so I was determined  not to repeat that again. I have to admit that while I was working,  I was also determining what the garage sale price of this gadget would be should that be the result again.


Next onto my burger. I tend to be much more adventuresome with my taste flavors and I once again went through the fridge and the cupboards looking for inspiration.  What I found? Pesto, feta cheese, and for some fun.. a couple of leaves from my purple and green basil plants. (More on my spectacular simple herb garden and self watering patio box in a later post.)
In order to fine tune the burger technique, I modified the original with the following:
1. I crumbled the beef into the bottom of the maker, and then pressed down in the indent mode. Much easier and I got a better indentation.
2. I made the indentation a little deeper by finger pressing some of the beef up the walls.
3.  Added a thin layer of the pesto, feta cheese and layered on the basil leaves.
4. Crumbled on more of the ground beef- making sure to cover all of the stuffing mixture.
5. Use the "smush" mode, firmly, to seal all of the burger.
This one sealed better and more firmly- but was still really big. Some fresh ground pepper on the top and I sent them out to the hubby to grill. He is the grill master!


This is how they came out- grilled to over 165 degrees- and the stuffings were still well contained in their burger casings! Yeah!


This is how I plated mine, as much as I would have like a bun- I had already eaten my gluten rations this morning... sad, sad, sad.

This is how the hubby's looked.
They were umm,..... Yummy.
And the taste- ummm, Really Yummy.

I am officially a fan, and this little gadget gets a special place in the summer kitchen. This Friday, I'm thinking that it is not so much a pizza on the patio- but a stuffed burger. What stuffing mixture? Oh, let me count the ways! Lots to plan before Friday's patio adventure.

So let me know what your dream stuffing mixture would be- you might see a picture of it later on
here.. And who knows I may choose someone to send your own maker....

Keep grilling- it's the summer and...
Live Peacefully. Cook Fearlessly.
Chris


Jun 11, 2016

Ketchup, Mustard, Pickles on pizza? ....WTF! (Would Taste Fantastic, of course.. )

First off, let me show you a picture of what we are making today- then I will give you the background story and the how-tos. Ready? You may need to steady yourself. Drum roll....Bacon Cheeseburger pizza!
I was cleaning the house this morning.( I have that kind of time now that the college degree is complete.) And listening to the TV playing in the background. Some famous pizza place that we don't have in the area was advertising it's Cheeseburger Pizza. I looked up briefly and saw pickles... yes PICKLES, on the surface of the pizza and in that instant I knew I would have to make it. I LOVE pickles and how could this be wrong?
I collected all of the ingredients that I like on a really guilty, really, really good cheeseburger. The hamburger was seasoned and then browned all the way through in fairly large chunks and left to cool a bit. Now, I am a fan of the bacon cheeseburger, and as most of you know, I made my own a few weeks back. Out that came, and I clipped it into small pieces and warmed it through. I put all of the other ingredients out on the counter- because pizza making is a fast and swift thing to accomplish. If you let that stretched pizza dough stick on the peel a minute too long well, it welds itself to the peel. I promise that the first time you have to try to take an unbaked loaded pizza off the stuck peel and drop the soggy raggedy mess into the oven... you don't ever do it again. So lets start with the pictures, while I explain.
I am going to confess- with all of the house cleaning, and a longer than expected trip into town to get supplies; I didn't have enough time to make a Wolfgang Puck pizza dough batch, which is superior. (And, if this pizza was sooo good using store-bought, I shudder in delight to think what the next time will be like! Can't wait!) So, shamefully, I bought a store frozen blob of "dough".
I rested on the floured board for about 5 minutes, then started stretching it out, finally making it to a ten inch circle. It was pretty thin at this point and I didn't want to stress it even more.

I always use a peel to make my pizzas on. It feels more traditional and because I like to slide them directly on a stone- this is the way to go. Mine dusted with a good amount of corn meal.


Then, because I like the crust to be flavorful ( for when I dip it in Bleu Cheese dressing, a Consler tradition), basil-infused olive oil was brushed along the outer crust along with a sprinkling of garlic powder.


The sauce, the sauce..what to do? I had looked at one recipe where the chef used thousand island dressing to mimic a local big box franchise. Umm, I don't like thousand island dressing on really anything, and the look on the hubby's face when I told him- well, we didn't go that route. He had suggested pizza sauce, which I had bought over the objections of the nagging inner chef voice in my head. But, I had an light bulb moment at this point and mixed together ketchup and mustard, adding until I liked the taste and on the pizza shell it went!


Cheese next, a taco blend that I had in the fridge, mainly for the mix of cheddar in the cheese.


The hamburger


The bacon- my own. (Had to put that in, I feel so high-falutin' when I say that!)
Dried onion. Okay so I know that you foodies- you know who you are, just sighed and slowly shook your heads back and forth. I did that the first time I tried it- but it is great! It re-hydrates with the cheese grease and tastes spectacular! Try it, go on, I dare you.


Sliced dill pickles. It felt a little weird putting these on, I will admit. And, because I was hesitant- not enough got on the pizza. Pizza dill pickles ROCK! I can't imagine not making them an ingredient on all sorts of other pizzas! Many more will go on the next time.


For my own little slice or two of heaven- I added roasted red pepper strips, I just love the things.


A little more cheese of the mozzarella type. It just isn't pizza without mozzarella stringy action going on.
And here it is, ready for the oven.


Now when I say oven in relation to pizza, at our house that makes it special. A few years ago, my parents (who know our love of pizza) gave us a gas grill pizza oven accessory for our grill. It is great! Not only do we make pizza in it, but I bake hearth breads in there too. Here is a picture
The pizza oven had been patiently warming while I made the pizza so it was at a balmy 500 degrees.


I slid the pizza in and off the peel- catching the timing just right, it was just starting to stick. The pictures slowed me down a bit. LOL
Ten minutes after it went in, I rotated the pizza by 180 degrees. I could tell the bottom was getting crispy because the peel slid under the pizza perfectly.


About 7 minutes later, out it came!
It was delicious. I invited the sister over to try it- she loved it as much as us.
So thoughts on next time: My own dough, more pickles, and some chopped tomato. Sis talked about some cold shredded lettuce, but I will have to think about that and try to convince the inner chef who is negating that idea strongly at this point.
So that is it- go out there and get on this! Summertime pizza time is just starting, and just pepperoni is not an option in this house!

As always,
Live Peacefully. Cook Fearlessly.

Till next time,
Chris

Jun 9, 2016

It's SMOKIN' !

First off - sorry about the delay- that last college course was a doozy! But it is done now, yeah! Because I was spending so much time on the patio reading coursebooks, and more importantly, just because I wanted to try it... I purchased a smoker. A propane/charcoal one, and she is a beauty. Smoking things is not a skill set that I had- I did a turkey on a whim over charcoal on my regular grill years ago and I remember that is was.. ummm, BAD. Charcoal that was too hot, very little smoke, and generally having not done my homework made Tom Turkey a very unappetizing boy.
     Enter in the new foodie me- the one who like to take a cooking t, and I am a handier person with the smoker. With each new piece of meat and vegetables, I learn a little more about handling the smoker, and the nuances that can be. Elements like the wood chips, dry or wet, the rubs, the injections, the mop sauces, the steaming water pan concoctions- the options are endless! So- for this initial smoking post, I am going to show you some of the things that have come out of my smoker- and a little overview. If you want a blog on how to do it, let me know in the comments and you will see it soon.
     Not a smoke lover?  Well, keep coming back because I didn't stop cooking or baking while getting through that last class. I have lots of food and pictures for new blogs, and I am back to getting them out!
First a picture of my girl, smoking away
plus my outdoor office where I endured the pain of financial management accounting and,
let me read textbooks, write papers, and smoke (meat that is! LOL).
  So - here is what has been on the menu:
SIGNATURE BACON- I took 6 pounds of pork belly, cured and smoked them in three flavors.. hickory simple, apple wood molasses, and garlic rosemary hickory. YUM!

Then on to Memorial day and the FOURTEEN HOUR BRISKET- I would say YUM but this was sooo much better. I think it says something when 13 people eat 11 pounds of brisket!
I couldn't let it sit there- there was still more to explore.. namely STUFFED PORK SIRLOIN ROLL- stuffed with pesto, pepperoni, kale, mozzarella, and roasted red peppers smoked with hickory and mesquite.

The last meal that I smoked, this last Sunday, was MEATLOAF. Yep, I know that face you just made. I made it myself initially, but let me tell you; I have never, never, never had meatloaf to die for and this was to die for. I will never go back to the run of the mill way in the oven. I gave this to two friends who were like "Meatloaf, really never liked it." And they were in heaven, Smoky, delicious meatloaf heaven. (I have the texts to prove it!)
So there you are, thank that last horrible class of mine for making me find relief in the way that I love- cooking! Let me know if any of these ideas excite you and I will post the finer details. And, I want to post the newest addition to the family- came home just this week to replace an older one that we just couldn't prop up anymore.
He and I have talked... and we have lots of good summertime stuff planned- just need to name him!

Well that's all from me- let me know what's is up with you or if you want some specifics.
As always,
Live Peacefully. Cook Fearlessly.

Chris

Apr 18, 2016

Pack it up Ramen- Sweet potato are the new noodles in my life!

Summertime is coming and the dreaded shorts season is almost upon us... Horrors!

So I have been looking for lower calorie alternatives to my favorite meals, with lots of veggies in play. The other day something came across my feed, and it was sweet potato noodles made with my favorite kitchen gadget- the Veggetti.

As I always say, most people do quite of bit of their tasting of food through their eyes, so I wanted this to be visually appealing too!I picked up some of my favorite vegetables, some imitation lobster ( a combination of Alaskan Pollack and real lobster), a huge sweet potato (thanks Frogpond farm stand) and went to work.


Here is the finished plate! Kind of pretty with all of the colors and textures.


Let me start you out at the beginning. I cleaned and peeled the huge sweet potato, then put it into the veggetti and made the thick spiral noodles. ( If you want to know more about the veggetti maker- look at my older post from January 2016) When they were spiralized.. I put them in a glass bowl with a scant quarter cup of water and a sprinkle of salt.


Next I cut all of my stir-fry ingredients into their desired shapes.  Remember to keep the sizes and shapes of your ingredients as standardized as possible. And, I try to have a plan on how much time individual ingredients are going to need to cook, and I add ingredients to the saute skillet in a "longest to shortest" time frame. The goal with a great stir fry is to have all of the veggies be crisp tender and have any proteins be fully heated!

Here is the mise en place 


The sweet potato curls got a plate cover over them and I put them in the microwave. Cooking them on high in 30-45 second intervals, I tasted them frequently to get the crisp tenderness that I wanted. I like the crisp tender texture and found that it took about 4 or 5 minutes to get the noodles to this point. While cooking them, I started on the stir fry.

In the saute skillet, I added about 1/4 cup of olive oil and a tablespoon of butter. I find that mixing them together gives me a deeper flavor without the risk of burning the butter. Because I wanted a garlic and dill sauce, I added the garlic first over med high heat so that the oil would flavor with the garlic. In next went the onions and the Pollack/Lobster chunks so the onions could soften and the Pollack/Lobster would have enough time to heat thoroughly.
In quick succession , I added the broccoli, let them saute for a minute or two, and then the rest of the veggies and a few sprinkles of dried dill weed. A couple of fresh grinds of salt and pepper topped them all off. I sauteed them over medium heat, turning them with a spatula gently so they would maintain their shape. After 5 or 6 minutes of sauteing, I tasted for desired crisp tenderness (be careful not to overcook!) and removed the pan from the heat.

Pile the gorgeous sweet potato noodles on each serving plate- (Some of them were 18 inches long!- YUM!) and add a good helping of the sauteed veggies and fish. To brighten the ending, I added a capful of lemon juice drizzled over the top, and of course a little Parmesan.


The taste was amazing. Long slightly crisp noodles and veggies in a garlick-y butter-y dill sauce with the slight acidity of the lemon to make them dance in your mouth. I can't wait to try this again with other ingredients! So very pretty and delicious- Sweet potato noodles are my new Ramen noodle substitute.

I would say to all my aspiring fantastic cooks that maybe reading this blog- go crazy on the colors of your veggies and whatever proteins you want. Clean out the produce draw of your refrigerator!. For those of you who want to know what I added, here is the list:
3 cloves garlic, minced
1/3 large onion, julienned
1/2 pound of the Pollack/Lobster, chunked
1/3 head of broccoli stalks, also julienned
3 small sweet pepper, the minis- julienned
5 or 6 mushrooms, sliced
1/2 roasted red pepper, julienned

If you look closely at the broccoli, you will see that there is more stalk on them than I usually leave. There is a reason to my madness. A huge trend in food hitting the world last year and in 2016 is something called "Roots to Stem", and it is a movement to have as little waste as possible from your food ingredients. With the extreme amount of food that is wasted each year- and the amount of people who are starving, I am making an extra effort to use up all that I can from any ingredient I use. Watch for some, I am sure, informative and funny blogs about my trials and tribulations doing that!

Ohh- and some exciting news! I am working on a website where you can find all of my recipes plus some cooking technique videos, and whatever else you want to see or I want to share. Check it out soon- www.Christineconsler.com  Let me know what you want to see. You can go now- there is a pretty picture up while I concoct!

Talk with you soon- as always
Live Peacefully. Cook Fearlessly

Chris